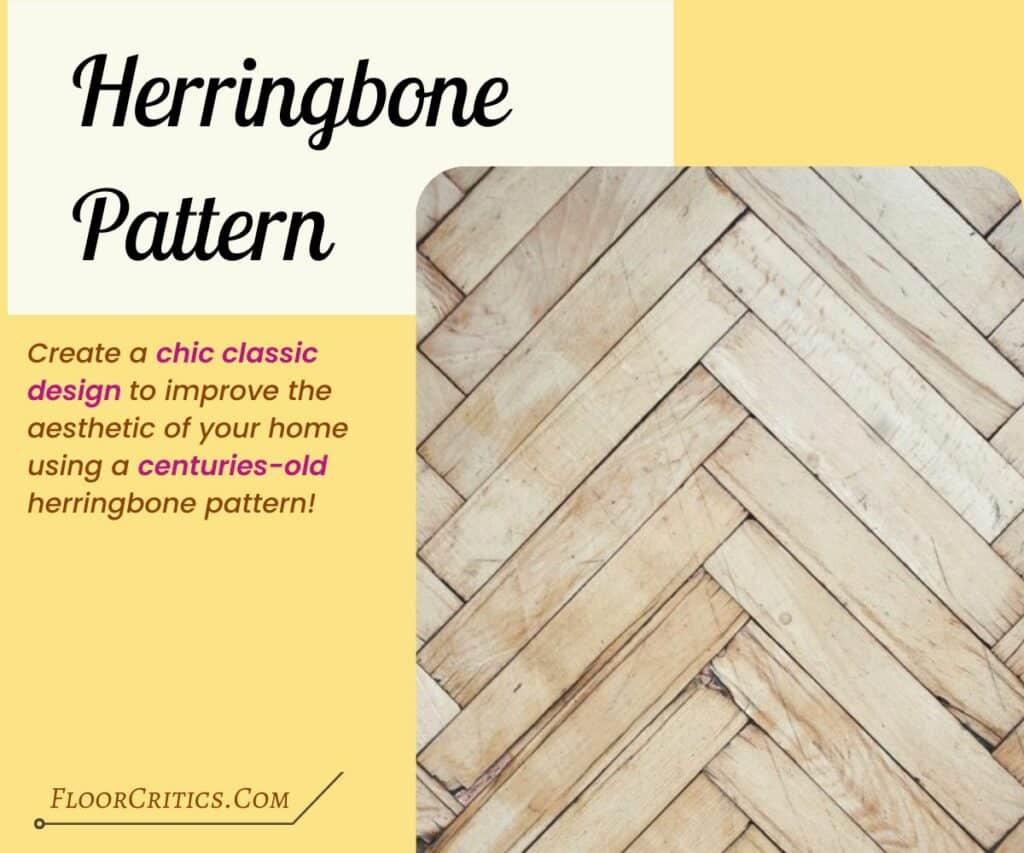
A herringbone pattern is a timeless pattern that has been used in various applications from textiles to the flooring industry. You will often see this classic design on walls and floors to spice up any dull space in homes.
So if you are interested in learning more about the herringbone tile pattern, we’ve got your back! Let’s learn about what this pattern is, its difference from chevron, its benefits, types, installation, recommended applications, and more here!
- What Is the Herringbone Brick Pattern?
- Quick History of the Herringbone Tile Pattern
- Herringbone vs. Chevron: What Is the Difference Between Chevron and Herringbone Pattern?
- Herringbone Flooring Material Choices
- Why Should You Use Herringbone Wood Flooring?
- Drawbacks of Herringbone Tile Patterns
- Types of Herringbone Floor and Wall Patterns
- How Do You Make a Herringbone Pattern Tile?
- Herringbone Installation Costs
- Where Can You Use a Herringbone Pattern?
- Tips for Installing Herringbone
- FAQs
- Final Thoughts
What Is the Herringbone Brick Pattern?
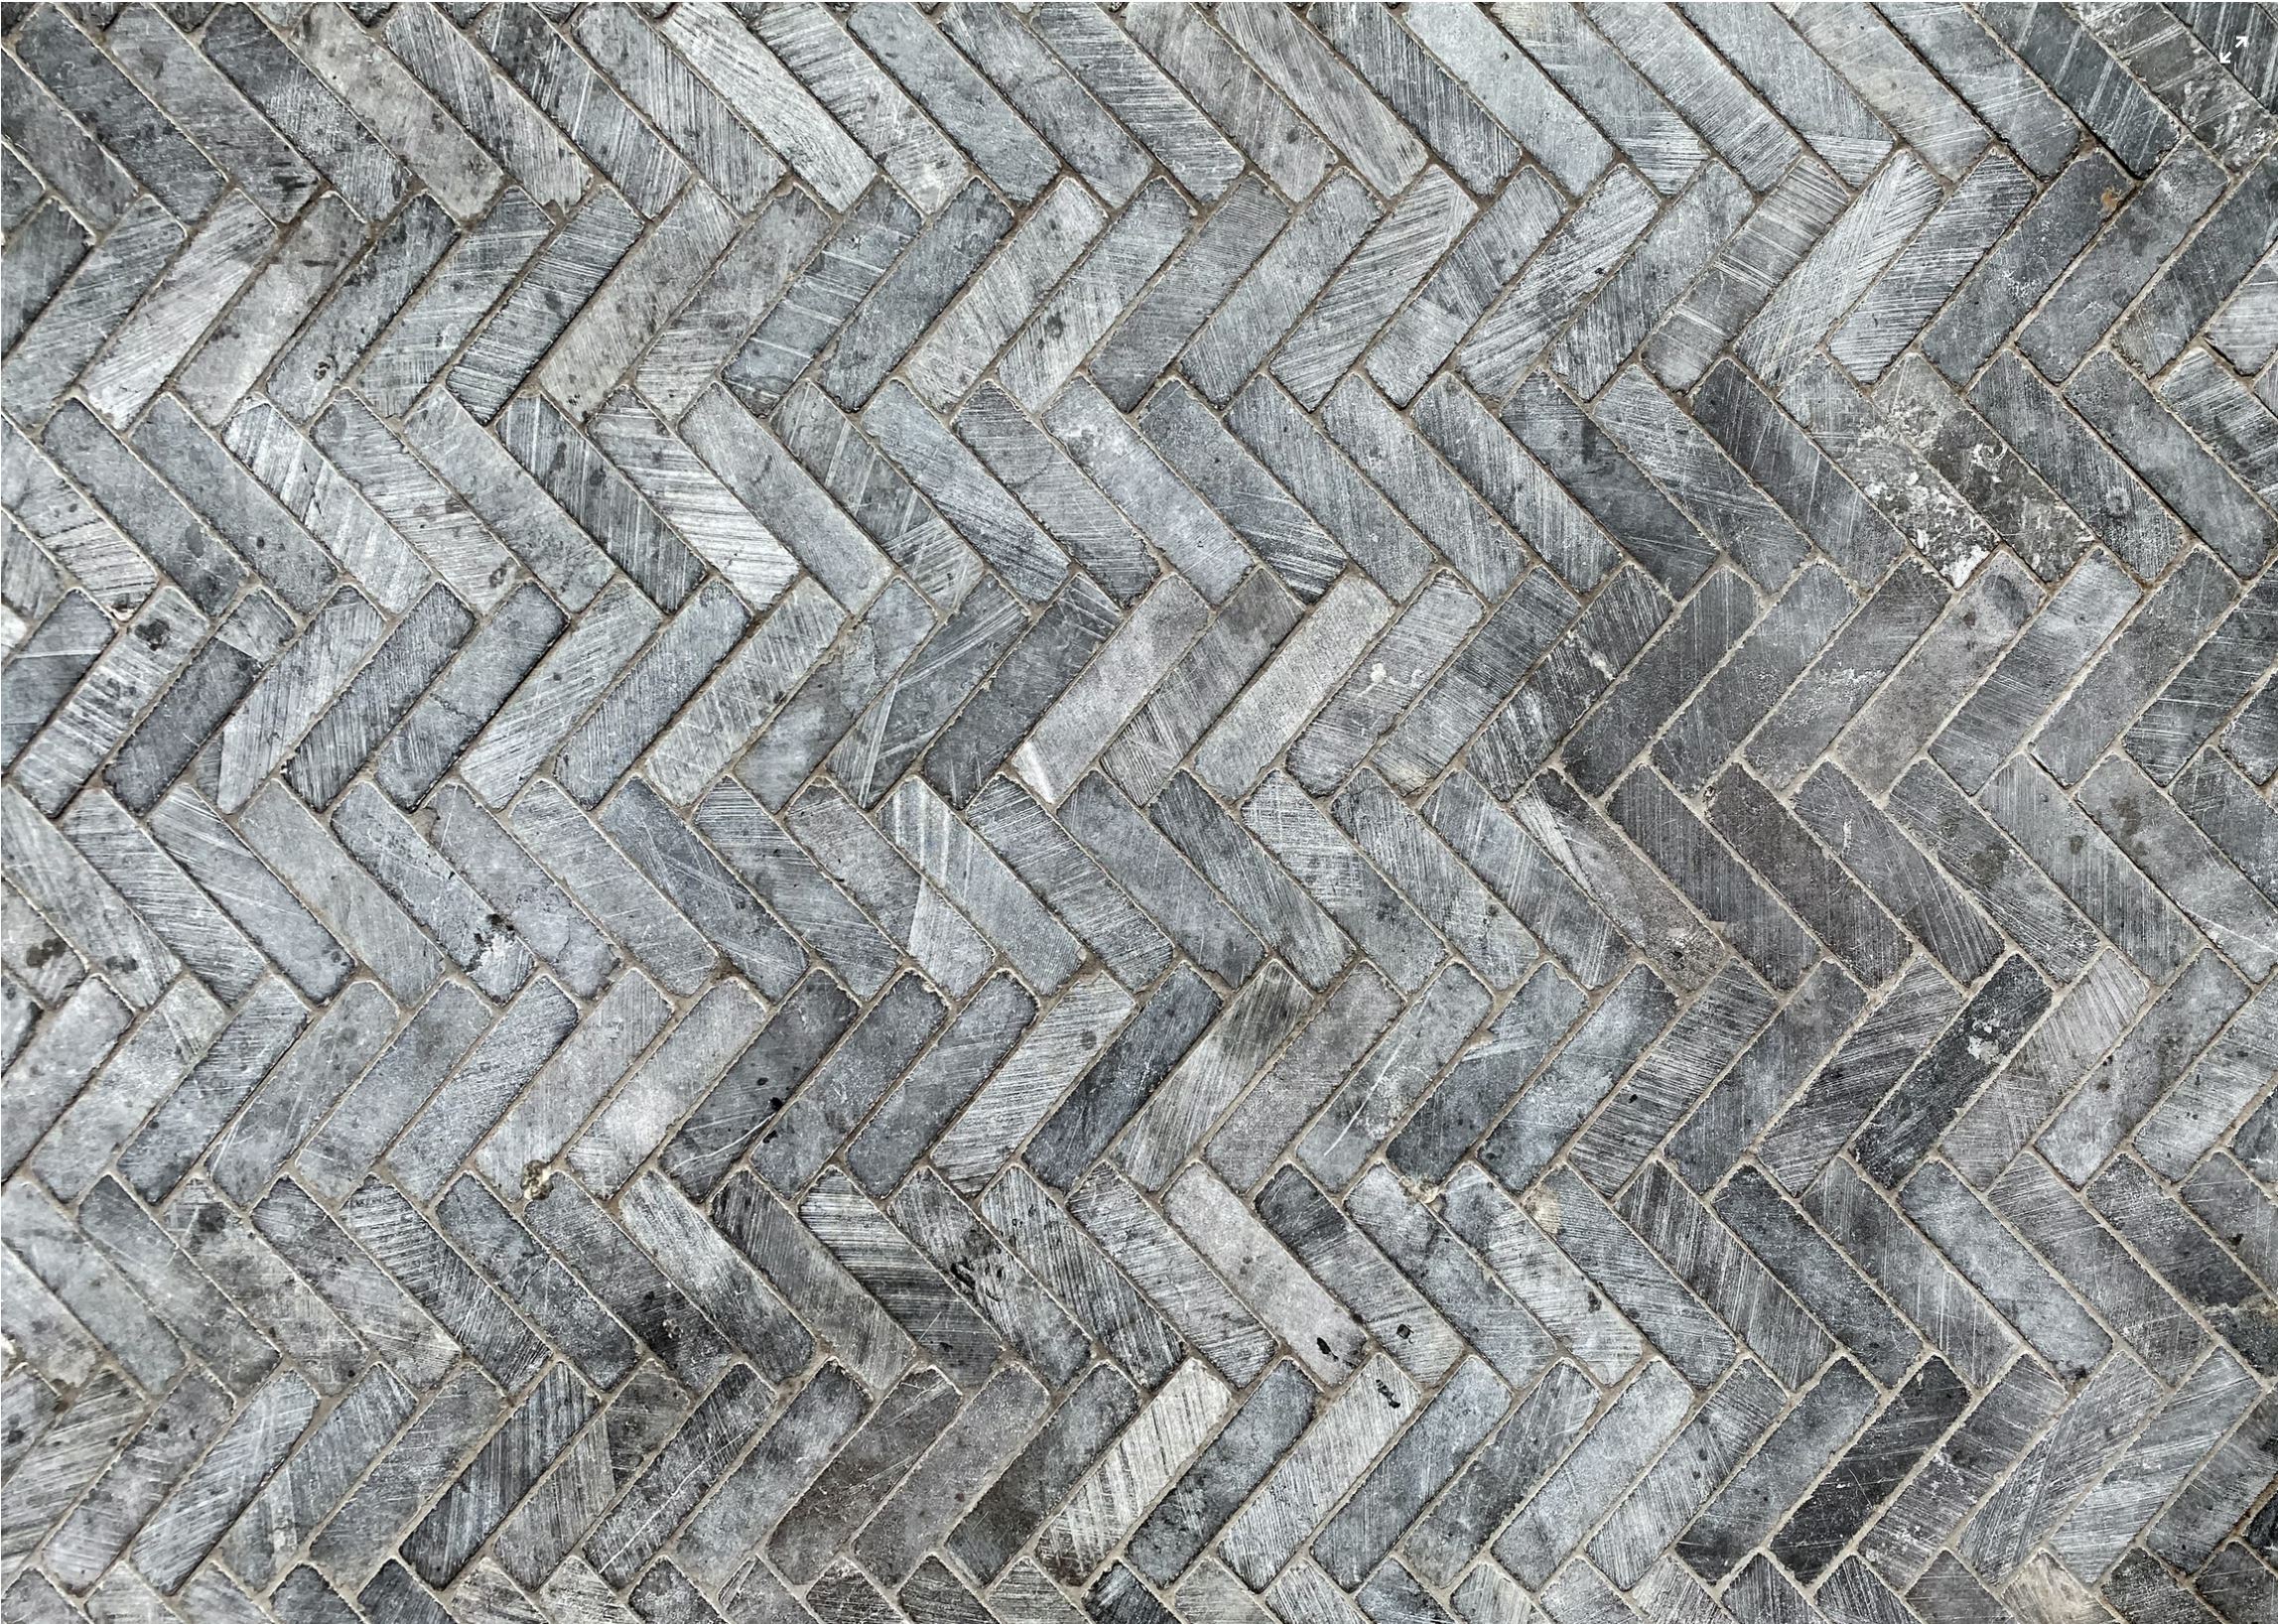
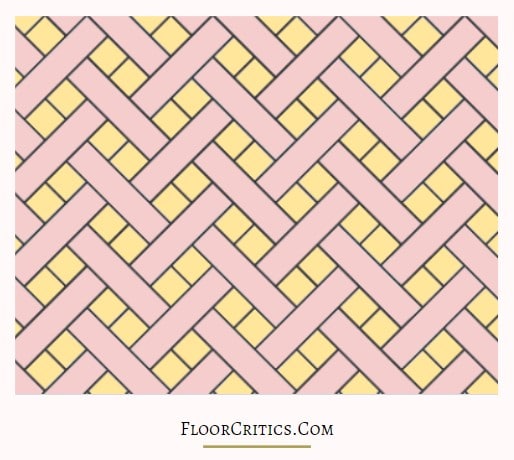
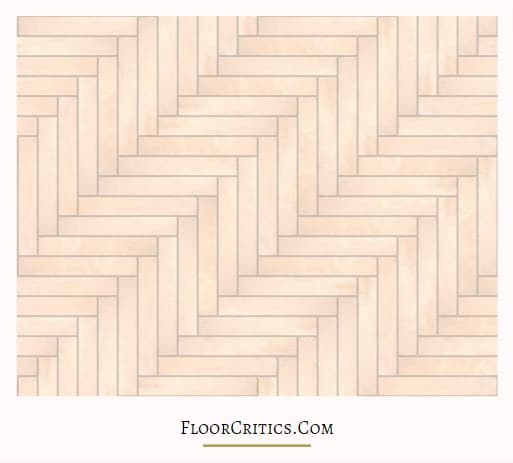
The brick herringbone pattern is a popular tile pattern for floors that is made using rectangles of equal sizes. These rectangles are formed into a stylish zig-zag pattern that creates the distinguishing feature of the herringbone.
In some cases, the rectangles need to be precisely cut for them to fit together and create a staggered look.
Why Is It Called a Herringbone Pattern?
The resulting pattern resembles the skeleton and bones of the herring fish, hence the name herringbone. It is also known as the herringbone weave, but only when used in clothing.
Quick History of the Herringbone Tile Pattern
The herringbone floor pattern parquet may look like a modern pattern but actually, it has been around for centuries. It is a type of parquet flooring that has been used since the Ancient Roman Empire to symbolize status and wealth.
Romans built their roads using bricks laid out in a V-shaped pattern to construct more stable roads. They installed the bricks by hand. And though it is a tedious process, it gave birth to an aesthetically pleasing pattern that is now used in many homes.
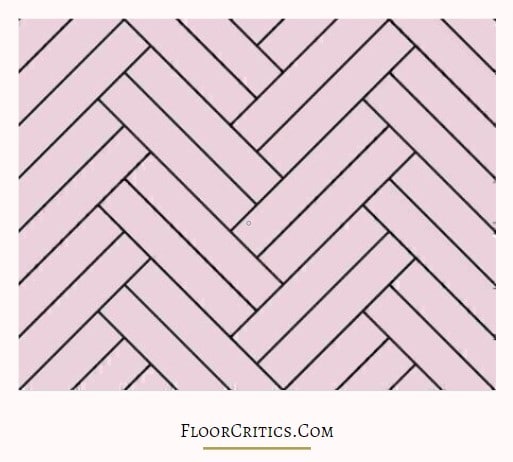
Herringbone vs. Chevron: What Is the Difference Between Chevron and Herringbone Pattern?
Because of the similarities between the two patterns, they are often confused with each other:
- They use rectangles of even sizes
- They have zig-zag and V-shaped patterns
- The tiles are placed at a 90-degree angle to each other
But, their major difference is how the rectangles are placed. Let’s look more into the differences between the herringbone and chevron patterns below:
| Herringbone | Chevron |
| – The ends of the tiles/planks are cut at 90-degree angles – Two tiles create an L pattern – One tile/plank’s end meets the side of another tile/plank to create a broken (staggered) zig-zag pattern – Creates a more classic look | – The ends of the tiles/planks are cut at 45-degree angles – Two tiles create an arrow pattern – Each end of the tiles/planks meet to create a continuous zig-zag pattern – Establishes a more modern atmosphere |
You can read more about herringbone vs. chevron flooring patterns here.
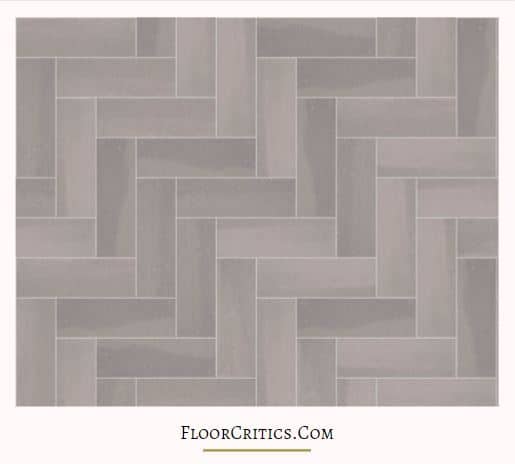
Herringbone Flooring Material Choices
As for your materials choices, you will have the following options for your herringbone design:
However, hardwood is the most popular choice because it can last for years with proper care. Your options include:
- Walnut
- Hickory
- Sapele
- Maple
- White Oak
- Red Oak
Why Should You Use Herringbone Wood Flooring?
Of all your material and pattern choices out there, why choose a herringbone hardwood floor? Here are a few reasons why you might want to consider it despite its challenging installation:
“There are endless herringbone and chevron flooring designs in a number of materials. However, for the winning look, hardwood always takes first place…Herringbone hardwood flooring makes a large design statement of elegance and timelessness at first glance.”
Hardwood Floors Magazine
#1 Aesthetic Appeal
Herringbone pattern wood floors provide a classic design that is not too trendy but not out of style. The wood’s overall finish, contoured edges, and grain texture creates a more elegant look. They also add both style and drama while accentuating authenticity. They also do an excellent job in spicing up retro-look or minimalistic spaces.
#2 Durability and Longevity
Herringbone wood floors can stand the test of time due to their durability and longevity. Hardwood can help your home look timeless by hiding wear and tear. Add a herringbone pattern that enhances structural stability and absorbs compression and you’ve got a sturdier floor!
#3 Creating Space and Movement in Your Home
The zig-zag layout of the pattern creates arrows and produces an illusion of movement which brings life and fluidity into any space. It also makes rooms appear larger and longer.
Drawbacks of Herringbone Tile Patterns
While the pattern is easy to install and good for DIYers, laying it can also be difficult due to the following reasons:
- You need to align the tiles perfectly and check the pattern multiple times before you lay the tiles to ensure a clean outcome.
- A little error in your arrangement will mess up the whole pattern and you might need to redo everything.
In addition, hardwood floors are labor-intensive and very expensive to install. If you want cheaper alternatives that are easier to install, go for herringbone laminate flooring.
Types of Herringbone Floor and Wall Patterns
If you are looking for herringbone wood wall or floor designs, here are ideas you can refer to:
#1 Single Herringbone
This is the traditional herringbone pattern that starts with two tiles that create an L shape.
#2 Double Herringbone Pattern
This one is similar to the single herringbone but uses a pair of two tiles to create one layer.
#3 Dot and Dash
Instead of two rectangles forming an L shape, one rectangle is replaced with two square tiles to create this pattern.
#4 Skinny Herringbone
If you are covering a large area, you might want to consider using skinny long rectangular tiles to cover more area.
How Do You Make a Herringbone Pattern Tile?
Now here’s the exciting part, let us guide you on how to install a wood herringbone floor or wall here!
First of all, you can install herringbone on any flat and dry surface like dry screed, concrete, timber, particleboard, or plywood. Whether you are installing on your wall or floor, below are the basic steps you can follow on how to layout herringbone pattern:
Step 1: Measure Both Directions
Measure both directions of the space and draw a straight line at the center of each. The lines should be perpendicular to each other and intersect at your floor or wall’s center.
Step 2: Start Laying From the Center
You can keep the pattern straight by starting from the center and going outwards. Of course, this will not be practical if you are installing on your wall due to gravity, so you need to start from the bottom.
Step 3: Lay Your First Tile
Lay your first tile 45 degrees from the centerline and point it towards the direction you want the pattern to go.
Step 4: Lay Out Without Adhesive
Lay the second tile at a 90-degree angle from the side of the first tile’s end. Continue laying tiles to create the first row without adhesive until you reach a wall.
Through this, you can make changes in case the pattern doesn’t look centered or straight before installing it permanently. Go back to the center again and continue laying outwards until you cover the entire area.
If you are installing on your wall, better layout the tiles in a space with the same measurements as your wall first.
Step 5: Install Your Herringbone Pattern Permanently
Once you are satisfied with the temporary layout, you can now lay the tiles with adhesive.
For a more detailed herringbone wood floor installation through the tongue and groove method, check out the video below:
Herringbone Installation Costs
Installation costs will depend on various factors which include the following:
- Material type
- Type of hardwood
- Floor finish
- Floor thickness
As for the estimated costs, you can refer to the data from LV Hardwood Flooring below:
- Per square foot: $6 – $10 (not including equipment costs and wood species type)
As for the removal, per square foot costs can range from $8 to $12.
Note that most flooring installers will quote labor costs per square foot that will cover all miscellaneous expenses. If you need more accurate costs for your project, we can provide you with a free quote.
Where Can You Use a Herringbone Pattern?
Here are ways to use a herringbone pattern in your home!
The best projects where you can use herringbone are in small spaces and low ceilinged rooms. The pattern also blends perfectly with retro-style and traditional spaces.
You can use them as:
- Accent Wall
- Backsplash
- Flooring
- Headboard
- Door design
- Tabletop design
In addition, you can use it in places like the following:
- Living room
- Bedroom
- Bathroom or shower room
- Kitchen
- Dining room
- Front porch
- Front entryway
- Hallway
- Fireplace
- Patio
Herringbone patterns are also used in rugs, blankets, duvets, curtains, sofas, carpets, cushions, wallpapers, and others.
Tips for Installing Herringbone
Below are tips you can follow to guarantee that you install a herringbone floor or wall that you will be fully satisfied with.
Contact our team if you need an installation quote.
#1 Choosing the Best Plank/Tile Sizes
Herringbone tiles come in a variety of sizes but when choosing the best size, take note of the following:
- Too large tiles will lose the pattern’s geometric effect.
- Too small tiles can lead to a lot of distracting grout joints.
- Choose broad planks for a more contemporary look.
- Choose narrow blocks for shabby, industrial, or urban chic designs.
#2 Selecting Wood Colors/Types
- You can use at least two hardwoods to maximize color contrast and woodgrains for a more modern look.
- Popular herringbone shades include whites, blacks, grays, and browns.
- If you will be using multiple colors, light to dark transitioning or alternating colors create a richer look.
- Use stone or ceramic tiles that look like timber for moisture-prone areas like bathrooms or kitchens.
- Dark wood-look tiles are excellent for a more old-timey look.
#3 Staining Unfinished Hardwood Planks/Tiles
- Solid hardwood planks/tiles often come unfinished so you need to stain, sand, and seal them before installation. Staining helps in achieving your desired tone and highlighting the wood’s grains more.
#4 Maintaining Hardwood Herringbone Floors/Walls
- Choose lacquer or a natural oil coating for better protection against wear, stain, and spills.
- Vacuum, mop, and clean your floor using approved cleaners for wood.
#5 Centering Your Pattern
- Find your floor or wall’s center point and start working from it to make your pattern appear centered.
#6 Keeping Your Pattern Straight
- Layout your project first and make sure that all tiles are straight before you install them permanently.
- Always start with one tile laid at 45 degrees along a centerline.
FAQs
Yes, they are more expensive compared to traditional flooring patterns, especially if you use hardwood flooring. The installation process is also time-consuming and needs more materials so you’ll be spending more if you plan to hire a flooring company.
What angle is herringbone?
Herringbone tiles/planks are cut and laid together at a 90-degree angle. Make sure that you measure and cut the tiles/planks precisely to ensure that they fit perfectly.
Which way should herringbone run?
Although you can choose any direction you want, you can create the best look if it runs towards:
– A room’s longest direction
– A certain focal point
Does herringbone make a room look bigger or smaller?
Herringbone tile floors and walls produce an eye-catching effect that adds diversity to any room. Their zig-zag pattern creates an illusion that makes a room appear larger and more spacious. That is why it is ideal for small spaces like powder rooms, laundry rooms, bathrooms, and others.
Final Thoughts
The herringbone pattern’s distinctive look has been popular in the world of interior design and its plethora of uses is no surprise. Whether you want a classic but trendy flooring design or anything to create a strong statement, its versatility can suit any project.
We can even help you with your installation to ensure that you get the results you want. All you need to do is send us a message.
Back to Top