Have you been wanting to learn how to install laminate flooring on stairs without breaking your budget? Laminate is one of the most popular and affordable flooring options that can easily mimic hardwood floors and even tiles.
If you’re ready to learn more and you need a helping hand, we’ve prepared a comprehensive step-by-step guide.
Installing Laminate Flooring on Stairs: Step-By-Step Guide
- Choose Your Laminate Floors
- Acclimate Your Laminate Flooring
- Remove the Existing Floor
- Take Off the Overhang
- Cut the Planks
- Add Underlayment
- Install Laminate Floors on Steps
- Place the Risers
- Place the Stair Nosing
- Final Touches
1. Choose Your Laminate Floors
There is no doubt that laminate flooring is suitable for steps, but you need to know what you’re buying, as we previously mentioned. Since this area of the house typically gets a lot of traffic, the planks you get should be very durable.
Before deciding on a style, talk to the manufacturer or supplier and let them know what you need. They’ll let you know which planks are the most durable and can withstand wear and tear. See a variety of styles at Home Depot or Flooring Inc.
Another tip to remember when talking about laminate flooring on stairs is to stay away from glossy planks because they tend to be very slippery. You shouldn’t even consider glossy laminate if you live with kids, elderly people, or pets. Textured planks are also gorgeous and are much better at reproducing the natural look of wood.
The next thing you need is nose strips that pair well with the laminate you chose. While browsing, you should mention that you’re looking for laminate for stairs and that you need strips that will look good with the planks.
Ensure that you get between 7% and 10% more than you expect to use because you’ll have to cut the planks to cover all of the stairs. Also, if you will be installing the floors yourself, it’s best that you have extra material to work with in case of a mistake.
2. Acclimate Your Laminate Flooring
Laminate planks need to be in the room where they’ll be installed for at least two days before the work is done. This flooring needs to acclimate to the room temperature first because moving it from one temperature to another can make it expand and shrink.
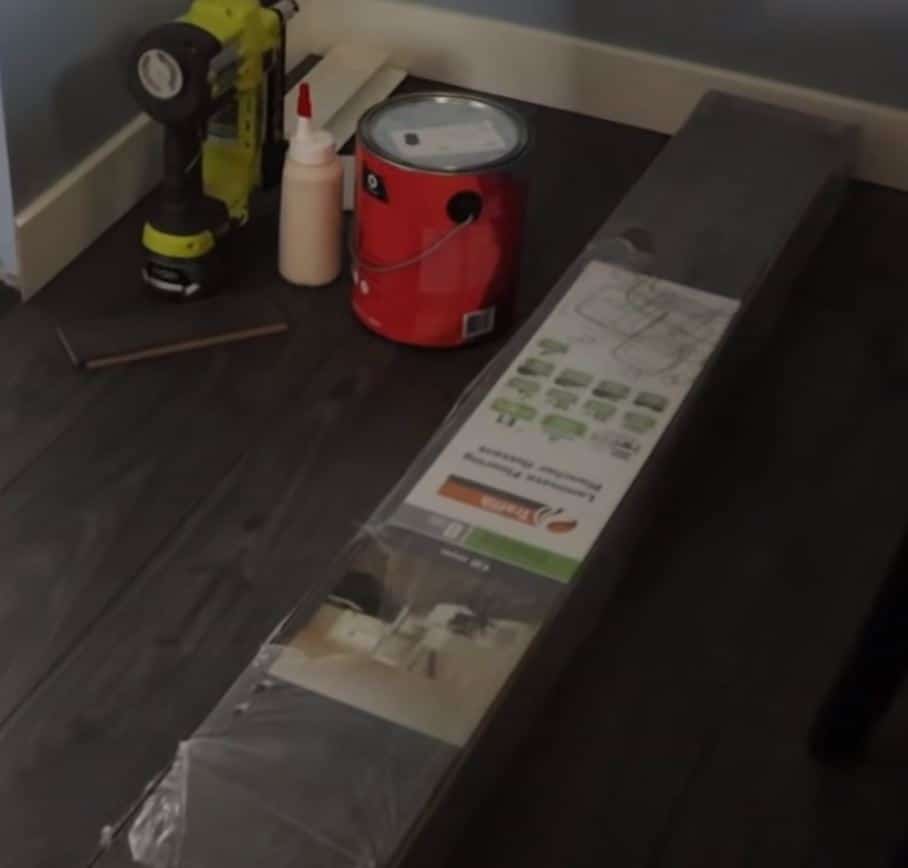
Place the packaging in the room or hall and start preparing it for installation.
3. Remove the Existing Floor
If you have carpet on the stairs currently, you have to remove it before you start installing the new floors. Also remove any other irregularities, including tack strips, nails, and anything else that can get in the way of the installation. You can do this with pliers, and it shouldn’t take too long.
Put your gloves on, and get your tools. Remove the entire carpet and provide a smooth, level surface for the next step.
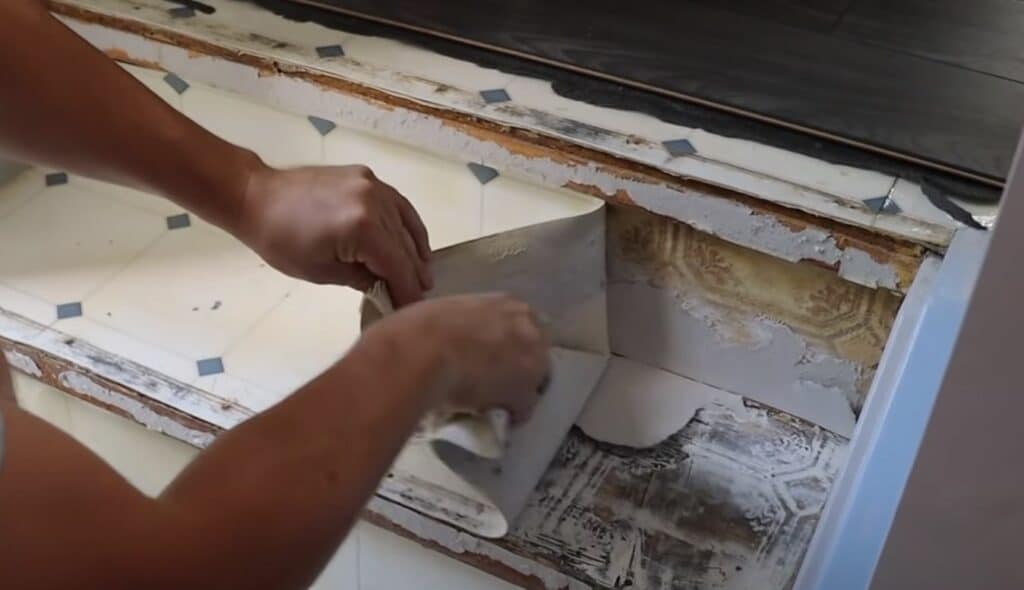
If your stairs aren’t covered with carpet, you still need to remove any existing irregularities. In addition, you’ll need to remove the existing flooring and the underlay, in some cases.
4. Take Off the Overhang
You can’t install new laminate steps with an existing overhang. If the old nosing is still there when you want to lay the planks, your installation won’t succeed. Go ahead and grab your tools and remove the nosing at this step in the process.
The first way you can remove the overhang is by cutting it with a jigsaw. Once you’re done, you’ll also need to grab the chisel and create a flat surface.
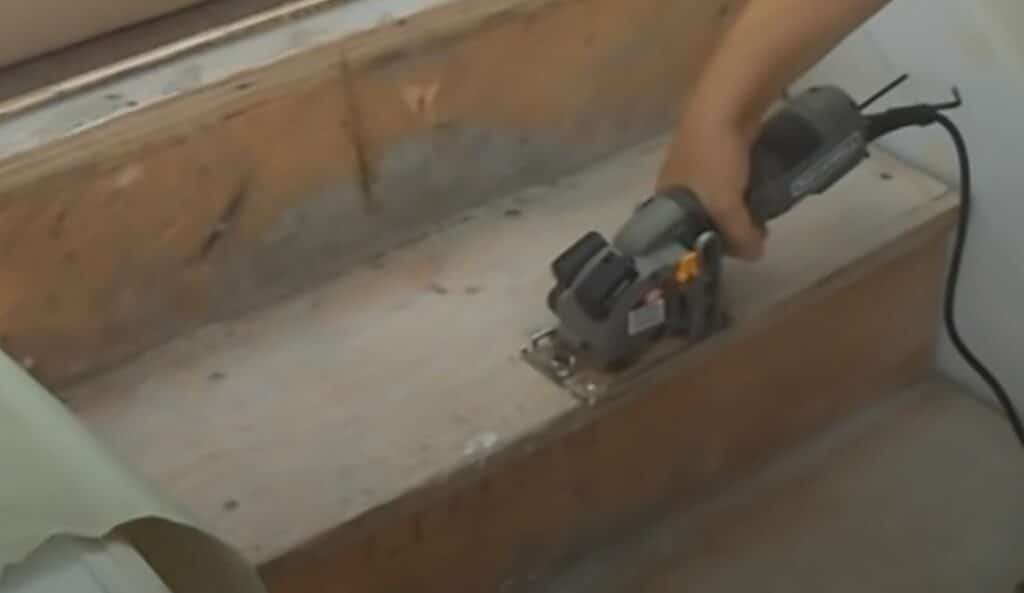
You could decide instead to add a plywood piece to create a flat surface under the overhang. If you opt for this method you need to secure the plywood with nails before you lay the planks.
5. Cut the Planks
As we already mentioned, most laminate planks are 48” long and there aren’t many other alternatives available on the market. This is why you’ll have to cut most–if not all–of the planks to adjust them to the size of your stairs.
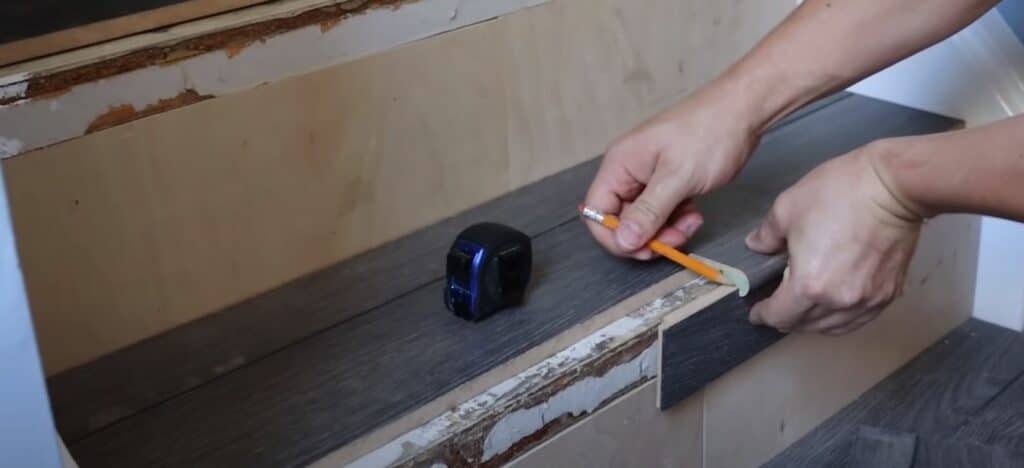
You have to carefully plan each part of the stairs and measure several times to know that you have the correct dimensions. Write down the sizes of the tread, riser pieces, and the nosing.
Since laminate width isn’t as easy to cut down, you might need to add multiple planks for the stairs to look good and like they’re covered with natural wood. One of the solutions is to install a single plank, then find another one you’ll place right next to it.
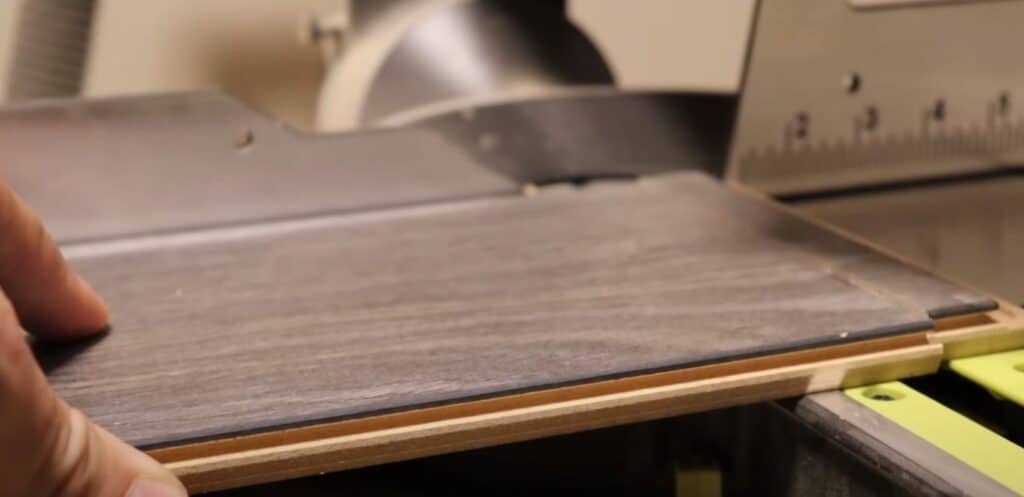
You can also cut one plank into smaller pieces and use them all to cover the stairs; however, you have to be very careful when cutting. You should always cut on the side with the grooves.
When placing the planks on the tread it shouldn’t be over the edge because that’s where the nosing will be, so get all the planks right in front of you and start cutting.
Measure each plank several times before cutting it because all the pieces should work well together and create an intricate effect. When cutting the planks, use a pen to add numbers to the bottom of every piece of laminate.
6. Add Underlayment
Before you start laying the planks on the steps, you might want to add underlayment. Considering that laminate is loud to walk on, the underlayment will act as a sound insulator and will also provide a comfier walking surface for your feet.
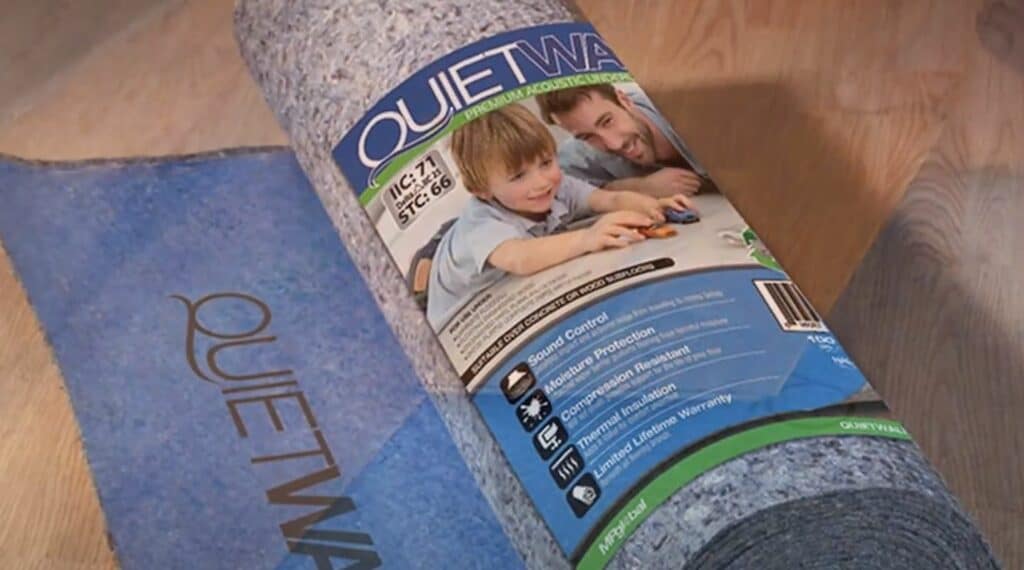
The stairs are a high frequency area, so the more insulation you provide, the quieter and more comfortable the laminate will be when you walk. Talk to a professional to get advice on what the best underlayment option is for your home.
7. Install Laminate Floors On Steps
We’ve finally come to the moment you’ve been waiting for. Go to the top of the stairs, grab the first plank and begin. Laminate might be durable and easy to install, but you still need to apply an adhesive to glue the planks down to the subfloor.
If you start at the top you can avoid stepping on the stairs you’ve worked on and they won’t interfere with your job. The adhesive takes time to dry, so this way you can work on the steps below without having to step on the ones that are drying.
The installation is done in three parts: tread pieces that cover the top of the step where you place your feet, a riser part that covers the vertical part of the steps, and stair nosing in between the two.
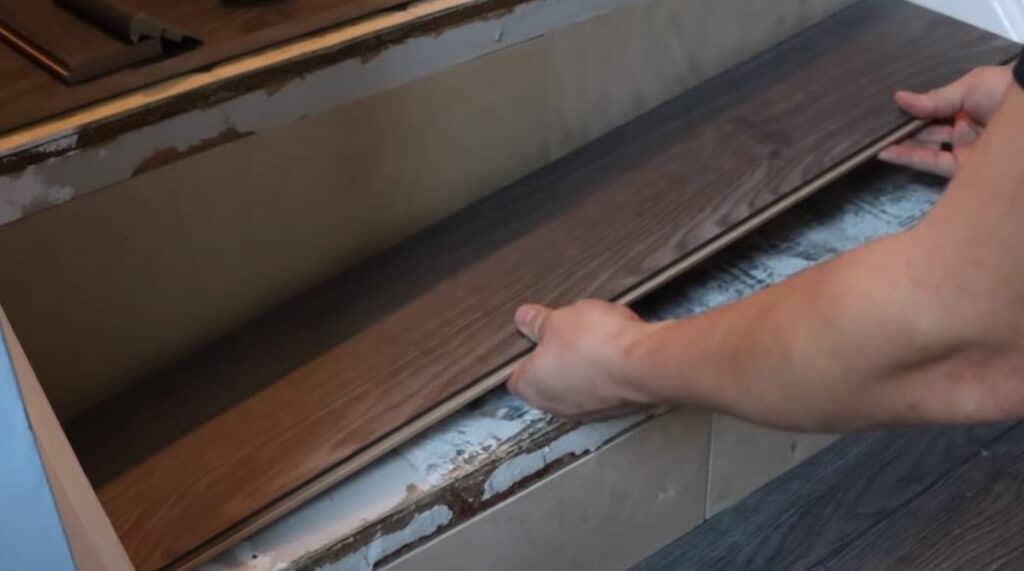
Once you decide which approach you’ll take, glue down the first plank and place it on the tread. This plank should be facing with the tongue towards the house, not the back of the stairs.
Place the tread pieces on the top step first, working from the left to the right. Next, use a wood adhesive to bond all the planks together, with the tongue side of one plank facing the groove side of another plank. When you’re done with the first tread you can continue with the risers.
8. Place the Risers
After you install laminate flooring on the treads, the next step is to cover the risers, which are the vertical parts of the stairs. This is definitely a tricky job because you need to fit the planks perfectly.
The riser pieces should lie tightly on the vertical part of the stairs. You should first apply an adhesive, then place the plank. Hold the plank for a few minutes until the glue starts to set.
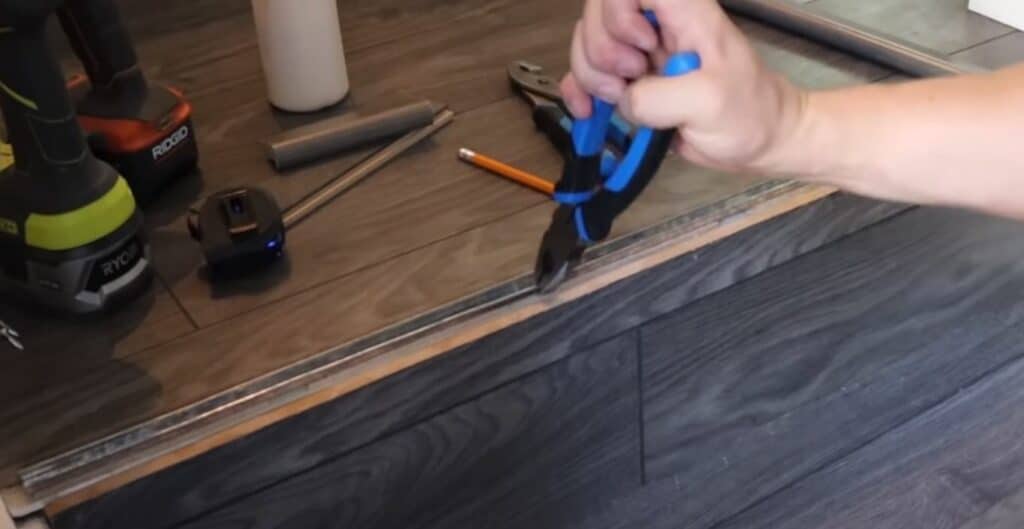
9. Place the Stair Nosing
You’re getting close to the end! The last piece of the puzzle is the stair nosing. This piece goes between the horizontal and vertical planks and slightly overhangs the edge of each step.
First apply glue to the subfloor where the nosing will go, then place the nosing. Once the glue is almost dry, grab screws and a drill.
Protect the nosing with tape, and drill one hole every nine inches. Screw the nosing down using these holes. When the screws are installed, the trim edge should be secure and your stairs are ready.
It doesn’t matter whether you install all of the risers or all of the tread planks first, or if you finish one stair at a time; however, as we mentioned before, when installing the treads it’s easier to start from the top and work your way down. This is how you’ll avoid stepping onto the stairs with an adhesive that’s still drying.
10. Final Touches
After you finish installing the floors, it’s time to take care of the final touches. If there are any holes on or around the stairs you need to fill them. Take a look around and notice where you need to fix things.
In particular, there may be holes above the screw heads in the nosing strips. Once again, start from the top and work your way down. Fill the holes with putty, then remove the protective tape from the nosing when you’re done.
Wait at least a few hours for the putty to dry, then can clean your new laminate stairs and everything around them. Although installing laminate isn’t a dirty job, the putty can make quite a mess.

Grab a broom and clean the stairs very well. If there is dirt, dust, or debris remaining, it can damage your new flooring. Imagine walking on your new stairs for the first time and scratching the laminate just because you didn’t sweep or vacuum well!
When the steps are clean, you can sit back and relax. You shouldn’t walk on them for at least a day.
Pros & Cons of Laminate Steps
Before we get to the installation process, you should be familiar with the advantages and disadvantages of laminate stairs. Hardwood stairs are beautiful, but cost a fortune. Thankfully, laminate is a much more affordable alternative with various selling points.
Pros
Easy To Clean And Maintain
If you’ve ever had laminate installed in your home, you know how easy it is to maintain it. Regular cleaning sessions require only sweeping or vacuuming the steps once or twice a week and an occasional damp mop.
You should stay away from abrasive solutions that can damage the floors and cleaners with bleach. You should practice cleaning your floors regularly because accumulated dirt, dust, and debris can cause scratches, especially in high-traffic areas.
Easy To Install
One of the main reasons so many people love laminate is the simple installation process. This flooring type is ideal for DIY-ers because the procedure is straightforward, and people don’t need special tools or expensive materials.
The laminate planks usually feature a click-and-lock system, meaning that if you follow the guidelines, you won’t have any trouble. Stairs can be slightly trickier than regular floors, but that doesn’t mean you can’t do it.
Affordable
In general, you can expect to pay between $0.50 and $3 per square foot. Of course, if you want a high-quality laminate you will have to pay more, but it will still be an affordable alternative. On the other hand, hardwood stairs are a substantial investment not everyone can afford.
The best thing about laminate is that it replicates natural wood materials very well, so it’s the best you can get for that price. Another pro is that you won’t have to pay for underlayment or a professional installer.
One cost to keep in mind is the stair nosing piece that can cost between $30 and $50 for 80”.
Cons
Relatively Noisy
Unlike natural materials, laminate is noisy. The planks will make sounds when you step on them, which might be a problem for some people. Imagine sleeping in the bedroom upstairs, and a loud noise wakes you up just because someone decided to use the stairs.
Can’t Be Restored
Another downside of laminate is that you can’t restore it if something happens. For example, if a plank is damaged because of constant traffic or exposure to liquids, you’ll have to replace the entire plank. In some cases you might find the same laminate planks to re-purchase, but more often, they won’t be available.
Back To TopFactors to Consider When Buying Laminate for Stairs
Before you learn how to install laminate on stairs, you have to find the right product. The two most important factors to influence your decision will be the plank size and thickness.
Size
One usual advantage of laminate planks is that most come in the same length. Unfortunately, the usual length for this flooring type is 48”, which tends to limit people when they’re choosing a style for their steps. On the other hand, hardwood planks are much more diverse in length, and there’s plenty to choose from.
The width of the planks varies, but if you opt for wider planks, you should expect to pay more. There are many manufacturers on the market, though, so you should do your research before settling on a brand especially if it costs more than you were expecting.
Thickness
Laminate thickness usually starts at 7mm and goes up through 12mm. If you want to install laminate flooring on stairs, the planks should be thicker so they’ll be more stable, durable, and sound-proof.
You should also educate yourself on the durability of this flooring type. Laminate is labeled from one to five, with one being the least and five being the most durable alternative.
Back To TopFAQs
Yes, laminate flooring on steps is a good idea, but you have to be familiar with the installation process and what laminate type to choose.
Most homeowners pick laminate over hardwood because it’s much more affordable, resembles natural wood, is durable, and offers DIY installation. There is no doubt that hardwood stairs look and feel fabulous, but they are expensive.
Most manufacturers offer special nosing pieces that you can use to finish the stairs and make the laminate look even richer and more beautiful.
Conclusion
Is laminate the right choice for your stairs? If you’re looking for a durable flooring option that’s inexpensive and easy to install, then laminate is the way to go.
Although there are certain cons to placing this flooring type on stairs, most households enjoy how simple the installation process is. Our guide on how to install laminate on stairs includes all the steps you should follow in detail, so your DIY project will be a piece of cake.
If you have any comments or first-hand experiences with laminate installation on steps, please post them below or share your pictures via our social media.
Back to Top